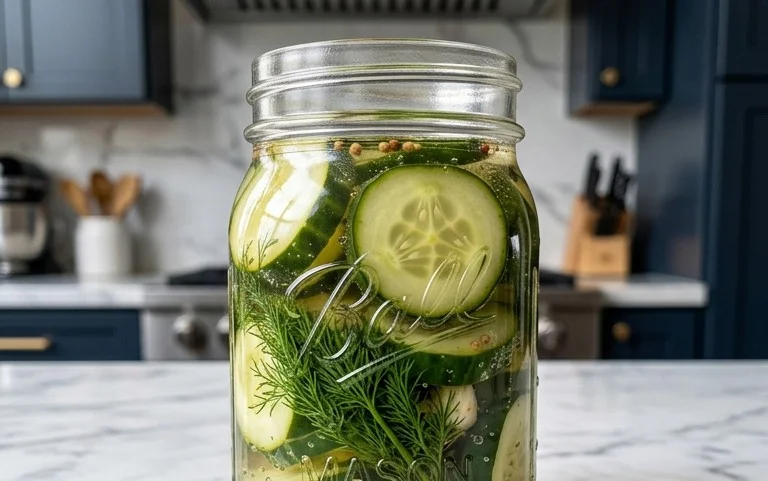
Spicy Dill Pickle Recipe-Homemade Crunchy Flavor
Spicy Dill Pickle Recipe – are you ready to embark on a flavor adventure that will tantalize your taste buds and have you reaching for more? I know I was, and let me tell you, the result is nothing short of extraordinary. Forget those bland, store-bought pickles; this is where the real magic happens. There’s a reason why spicy dill pickles have captured the hearts (and stomachs) of so many. It’s that irresistible combination of crisp, cool cucumber, the pungent tang of dill, and the exhilarating kick of heat that dances on your tongue. What truly makes this spicy dill pickle recipe so special is the ability to customize the heat level and the depth of flavor. We’re talking about creating a pickle that’s not just a condiment, but a star. Get ready to elevate your sandwiches, charcuterie boards, and even your snacking game with these vibrant, flavor-packed gems!
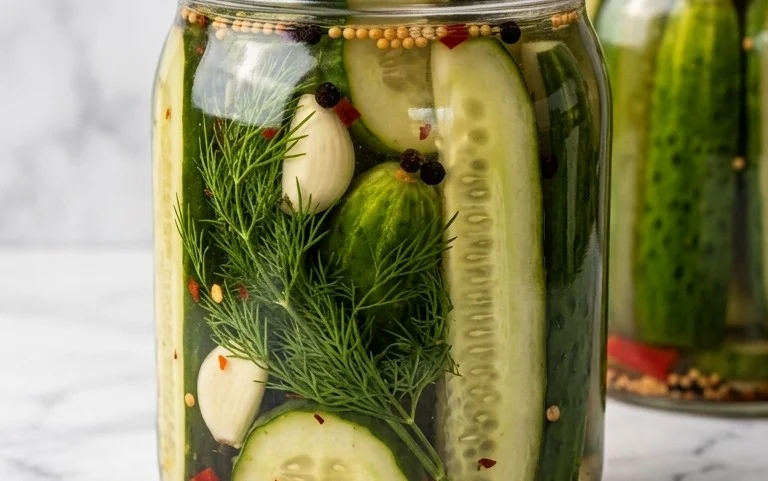
Spicy Dill Pickle Recipe
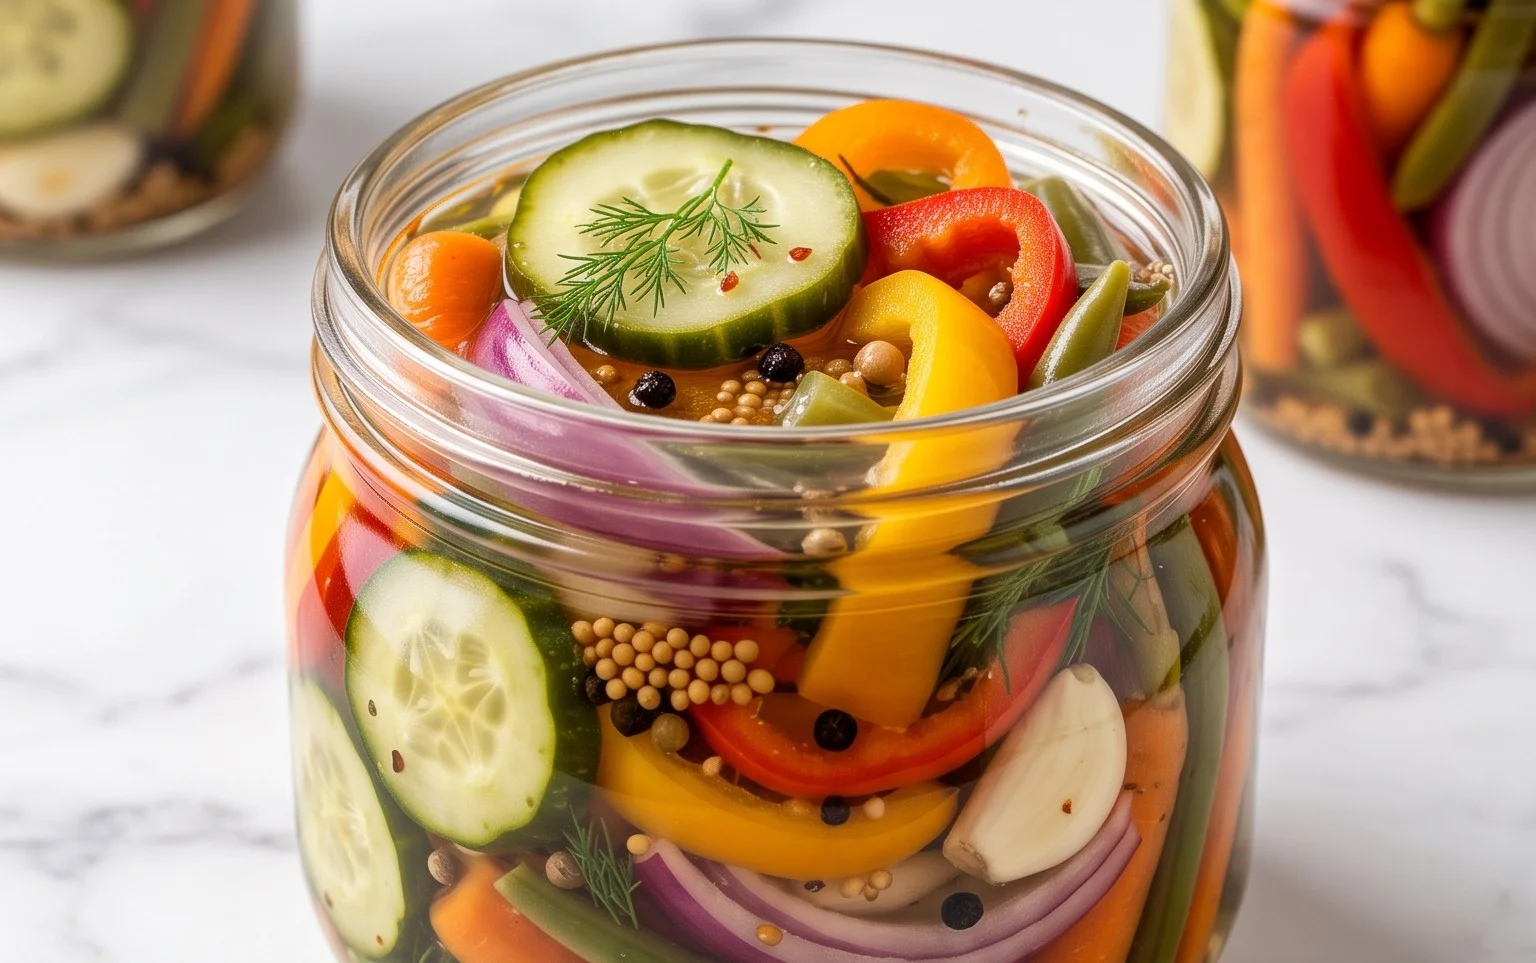
There’s something incredibly satisfying about a homemade pickle. It’s a tangible reward for your efforts, a burst of flavor that elevates everything from a simple sandwich to a charcuterie board. And when that pickle packs a spicy kick, well, that’s just pure joy. This recipe for Spicy Dill Pickles is my go-to for creating those perfect, crunchy, dilly, and delightfully fiery preserves. Forget those bland, mass-produced pickles; we’re about to embark on a journey to pickle perfection. The secret lies in a robust homemade pickling spice and the inclusion of fiery Thai red peppers that infuse the brine with a serious punch.
This recipe yields a generous amount of pickles, perfect for sharing (or not!). It’s a process that’s both enjoyable and surprisingly straightforward, even for beginners. The key is to start with fresh, crisp cucumbers and follow the steps carefully to ensure a safe and delicious end product. Get ready to impress yourself and anyone lucky enough to snag a jar of these sensational Spicy Dill Pickles.
Ingredients:
- 2 tablespoons black peppercorns
- 2 tablespoons mustard seeds
- 2 tablespoons coriander seeds
- 2 tablespoons dill seed
- 1 tablespoon allspice berries
- 1 teaspoon crushed red pepper flakes
- 10-12 bay leaves (, crumbled)
- 10-12 pounds pickling cucumbers (, scrubbed clean and kept whole or sliced)
- 2 cups apple cider vinegar
- 2 cups white vinegar
- 4 cups water
- 5 tablespoons pickling salt
- Homemade pickling spice (recipe above) ((use 2-3 tablespoons per jar))
- Dried dill weed from a 2-ounce package ((use 2-3 fronds and stalks per jar))
- 10-18 small Thai red peppers (, split down the middle but not separated, leaving seeds intact (use 2-3 per jar)).
Instructions:
Step 1: Prepare Your Homemade Pickling Spice Blend
The foundation of any great pickle is a fantastic spice blend. For these spicy dill pickles, we’re going to create our own custom mix. In a dry skillet over medium heat, lightly toast the black peppercorns, mustard seeds, coriander seeds, dill seeds, allspice berries, and crushed red pepper flakes. Toasting these spices awakens their aromatic oils, intensifying their flavor and fragrance. Swirl the pan occasionally to prevent burning, and after about 2-3 minutes, when you can smell their wonderful aromas filling your kitchen, carefully transfer them to a bowl to cool completely. Once cooled, crumble the toasted bay leaves into the mixture. You can do this by hand or by giving them a quick pulse in a spice grinder or food processor if you prefer a finer texture, though I like a bit of texture from the bay leaves. Store this homemade pickling spice in an airtight container. You’ll need to reserve about 2-3 tablespoons of this magical blend for each jar of pickles you prepare. This concentrated spice mix is what gives our pickles their complex, aromatic depth.
Step 2: Prepare Your Cucumbers and Jars
This is where the magic really begins to take shape. Start by thoroughly scrubbing your pickling cucumbers under cold running water. You want them impeccably clean. You have the choice to leave them whole or slice them. If you’re leaving them whole, ensure they are small to medium-sized so they fit comfortably in your jars. If you’re slicing them, aim for a consistent thickness, about ¼-inch rounds or spears, for even pickling.
While your cucumbers are being prepped, it’s crucial to sterilize your canning jars. Wash them thoroughly in hot, soapy water, then rinse. You can sterilize them by boiling them in water for at least 10 minutes or by running them through a hot dishwasher cycle. Keep the jars warm until you’re ready to fill them to prevent thermal shock when adding the hot brine. Lids and bands should also be washed, and the lids should be kept in hot water until assembly.
Step 3: Make the Brine
The brine is the heart and soul of your pickles, infusing them with flavor and preserving them. In a large non-reactive pot (stainless steel or enamel is ideal), combine the apple cider vinegar, white vinegar, and water. Add the pickling salt to this mixture. Pickling salt is important because it doesn’t contain anti-caking agents that can make your brine cloudy. Bring the brine to a rolling boil over medium-high heat, stirring until the salt is completely dissolved. This hot brine is essential for the pickling process. Once the salt is dissolved and the brine is boiling, remove it from the heat and let it sit for a few minutes to slightly cool before you start filling your jars.
Step 4: Assemble Your Pickle Jars
This is the fun part where you get to customize each jar! For each clean, warm pint or quart jar, add your chosen aromatics. Start with 2-3 tablespoons of your homemade pickling spice blend. Next, add 2-3 fronds and stalks of dried dill weed. This is where the classic dill pickle flavor comes in. Then, for the heat, add 2-3 small Thai red peppers. Make sure you’ve split them down the middle, but don’t separate them entirely – leaving the seeds intact will ensure they release their fiery essence into the brine. Now, pack your prepared cucumbers tightly into the jars, leaving about ½-inch of headspace at the top. If you’re using whole cucumbers, try to arrange them artfully. If you’re using slices or spears, pack them in snugly.
Step 5: Fill Jars with Brine and Process
Carefully ladle the hot brine over the cucumbers in each jar, ensuring they are completely submerged. Maintain that ½-inch headspace. Remove any air bubbles by gently running a non-metallic spatula or chopstick around the inside of the jar. Wipe the rims of the jars clean with a damp cloth to ensure a good seal. Place the sterilized lids on top and screw on the bands fingertip tight – not too tight, as air needs to escape during processing.
Now, it’s time to process your pickles. You can use a water bath canning method for shelf stability. Place the filled jars in a large pot or canner, ensuring they are covered with at least an inch of water. Bring the water to a rolling boil and process the jars for the recommended time for your altitude (typically 10-15 minutes for pint jars). Once the processing time is complete, turn off the heat, remove the canner lid, and let the jars sit in the hot water for another 5 minutes. This helps prevent siphoning.
Carefully remove the jars from the canner using a jar lifter and place them on a wire rack or a towel-lined counter to cool completely, undisturbed, for 12-24 hours. You’ll hear the satisfying “ping” as the lids seal. Check the seals by pressing down on the center of the lid; if it doesn’t flex, the jar is sealed. Store sealed jars in a cool, dark place. Pickles are typically best after at least a week or two of resting, allowing the flavors to meld beautifully. Enjoy your spicy, dilly creations!
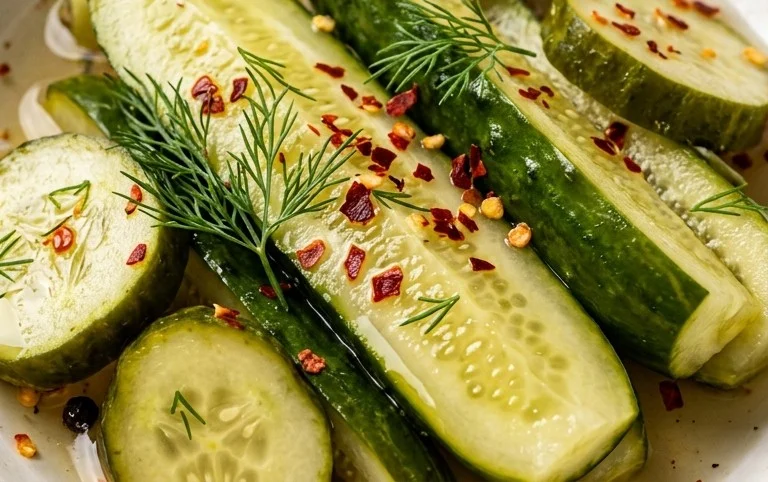
Conclusion:
There you have it! This spicy dill pickle recipe is your ticket to a flavor explosion. The perfect balance of tangy dill, zesty vinegar, and a satisfying kick of heat makes these pickles truly unforgettable. Whether you’re a pickle aficionado looking for a new thrill or a curious beginner eager to dive into homemade goodness, this recipe is surprisingly straightforward and incredibly rewarding. I know you’ll find yourself reaching for these spicy dill pickles time and time again.
These vibrant, punchy pickles are fantastic on sandwiches, burgers, or even as a standalone snack. Get creative with your serving suggestions! For a delicious twist, try them chopped up and mixed into potato salad or tartar sauce.
The beauty of this recipe lies in its adaptability. Feel free to adjust the spice level by adding more or less chili flakes, or even incorporating your favorite hot sauce. You could also experiment with adding a touch of sweetness with a pinch of sugar or honey, or introducing other aromatics like mustard seeds or garlic cloves for an even more complex flavor profile. I highly encourage you to give this spicy dill pickle recipe a try – you won’t regret it!
Frequently Asked Questions:
How long do these spicy dill pickles last?
Properly stored in the refrigerator, these homemade spicy dill pickles can last for several weeks, usually up to 4-6 weeks. Ensure they are submerged in brine and the jar is tightly sealed.
Can I make these pickles less spicy?
Absolutely! If you prefer a milder kick, simply reduce the amount of red pepper flakes called for in the recipe. You can also omit them entirely for a classic dill pickle flavor with just a hint of warmth.
Spicy Dill Pickle Recipe
A flavorful and spicy take on classic dill pickles, perfect for those who enjoy a kick. This recipe yields a large batch of delicious homemade pickles.
Ingredients
-
2 tablespoons black peppercorns
-
2 tablespoons mustard seeds
-
2 tablespoons coriander seeds
-
2 tablespoons dill seed
-
1 tablespoon allspice berries
-
1 teaspoon crushed red pepper flakes
-
10-12 bay leaves (, crumbled)
-
10-12 pounds pickling cucumbers (, scrubbed clean and kept whole or sliced)
-
2 cups apple cider vinegar
-
2 cups white vinegar
-
4 cups water
-
5 tablespoons pickling salt
-
2-3 tablespoons homemade pickling spice per jar
-
2-3 fronds and stalks dried dill weed per jar
-
2-3 small Thai red peppers (, split down the middle but not separated, leaving seeds intact per jar)
Instructions
-
Step 1
Prepare the pickling spice by combining black peppercorns, mustard seeds, coriander seeds, dill seed, allspice berries, crushed red pepper flakes, and crumbled bay leaves in a dry skillet. Toast over medium heat for 3-5 minutes until fragrant, then let cool completely. -
Step 2
In a large non-reactive pot, combine apple cider vinegar, white vinegar, water, and pickling salt. Bring to a boil, stirring to dissolve the salt. Reduce heat and simmer for 5 minutes. -
Step 3
Wash and prepare your pickling cucumbers. You can leave them whole or slice them as desired. Wash and prepare your Thai red peppers by splitting them lengthwise, ensuring seeds remain intact. -
Step 4
Sterilize your canning jars and lids. Pack each jar with 2-3 tablespoons of the prepared pickling spice, 2-3 fronds and stalks of dried dill weed, and 2-3 split Thai red peppers. -
Step 5
Pack the prepared cucumbers tightly into the jars, leaving about 1/2 inch of headspace. -
Step 6
Pour the hot pickling brine over the cucumbers in the jars, ensuring they are fully submerged and no air pockets remain. Adjust spices and peppers as needed per jar for desired heat and flavor. Leave 1/2 inch headspace. -
Step 7
Wipe the rims of the jars clean, place the lids on, and screw on the bands fingertip tight. Process the jars in a boiling water bath according to standard canning guidelines for your altitude (typically 10 minutes for pint jars). -
Step 8
Remove jars from the canner and let them cool on a towel-lined counter for 12-24 hours. Check for proper seal. Store sealed jars in a cool, dark place. Allow pickles to cure for at least 2-3 weeks before consuming for best flavor.
Important Information
Nutrition Facts (Per Serving)
It is important to consider this information as approximate and not to use it as definitive health advice.
Allergy Information
Please check ingredients for potential allergens and consult a health professional if in doubt.