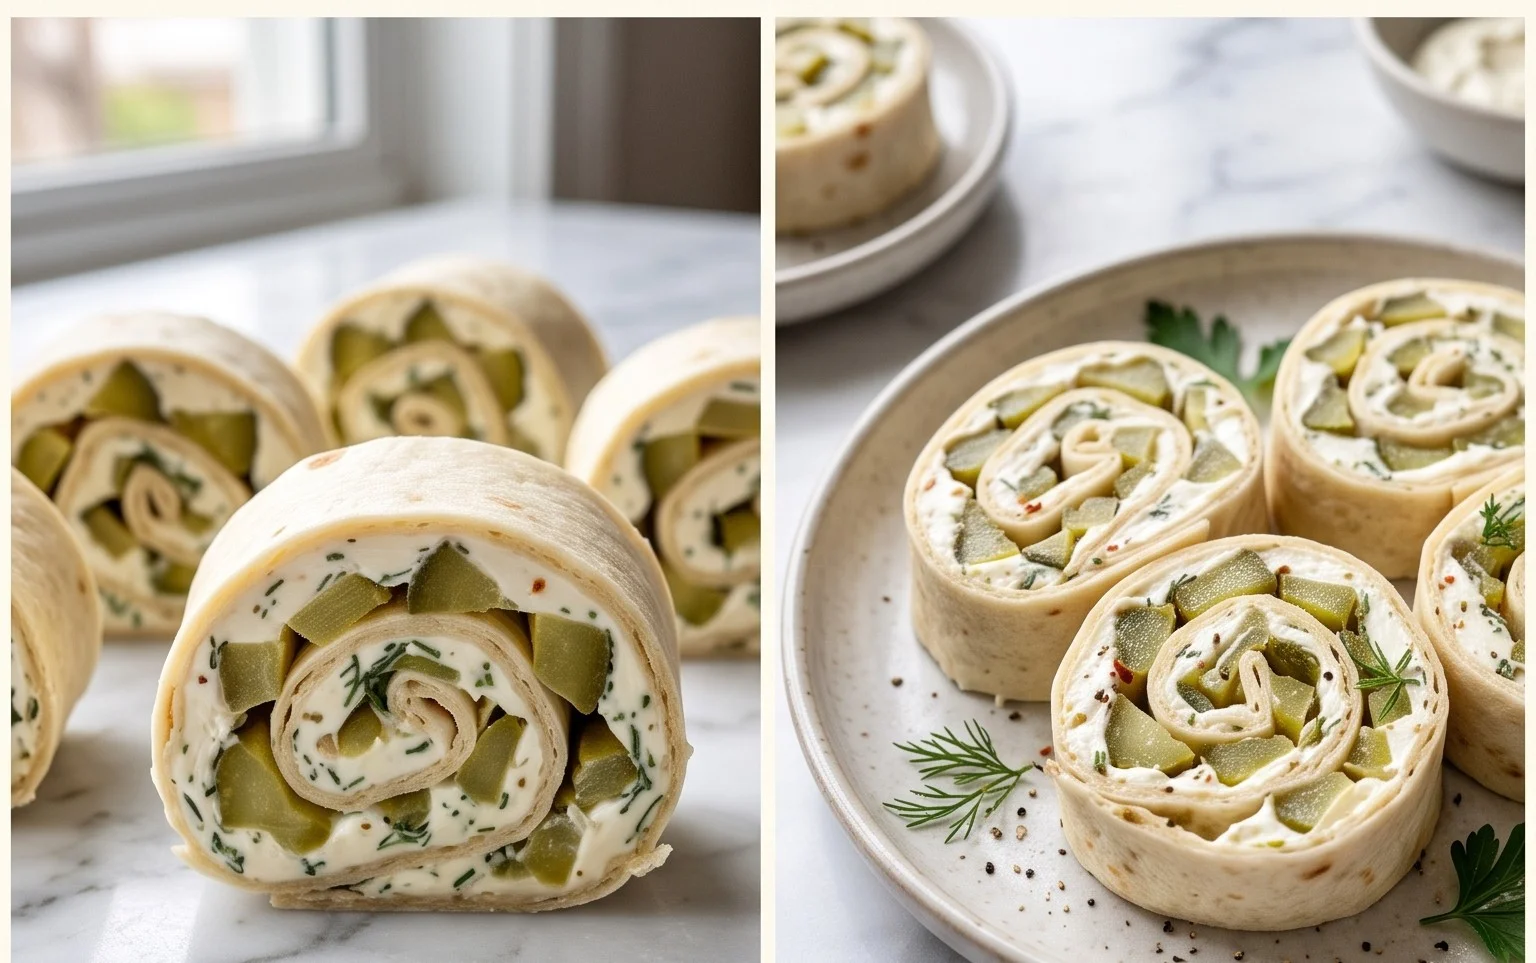
Easy Refrigerator Dill Pickles – Crunchy & Tangy
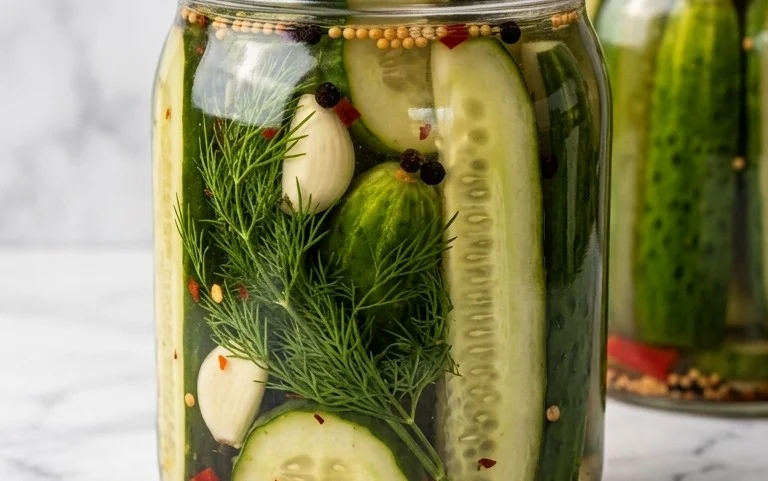
Refrigerator dill pickles are a summer staple for so many of us, and for good reason! There’s something incredibly satisfying about biting into a crisp, tangy pickle that you’ve made yourself, right in your own kitchen. Forget those soggy, bland supermarket versions; these refrigerator dill pickles deliver a punch of fresh dill, garlic, and just the right amount of brine. They are incredibly easy to whip up, requiring no special canning equipment, making them accessible for even the most novice of cooks. The magic truly lies in their simplicity and the vibrant, clean flavors that emerge after just a few days in the fridge. Imagine them piled high on a juicy burger, chopped into a creamy potato salad, or simply enjoyed straight from the jar – the possibilities are endless!
Why You’ll Love Making These Refrigerator Dill Pickles:
The Perfect Crunch Every Time
Fresh, Vibrant Flavor
Incredibly Easy Preparation
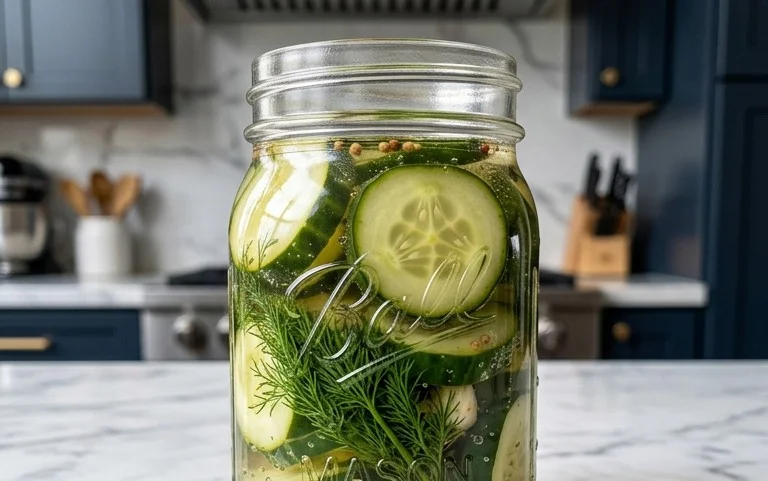
Refrigerator Dill Pickles
There’s something incredibly satisfying about a crunchy, tangy dill pickle, and the best part is, you don’t need a fancy canning setup to make them at home. These refrigerator dill pickles are wonderfully simple, requiring just a few basic ingredients and minimal effort. They’re perfect for snacking, topping sandwiches, or serving alongside your favorite meals. Unlike their shelf-stable cousins, refrigerator pickles offer a brighter, fresher flavor and a delightful crunch that just can’t be beaten. They’re also incredibly forgiving, making them an ideal project for even novice cooks.
What I love most about this recipe is its flexibility. While I’ve listed specific ingredients, feel free to adjust the amount of dill or garlic to your personal preference. Want a spicier kick? Add a pinch of red pepper flakes. Prefer a more intense garlic flavor? Toss in another clove or two. The beauty of refrigerator pickles is that they are meant to be enjoyed fresh, so experimentation is encouraged!
Ingredients:
- 3 cups water
- 3/4 cup white vinegar
- 3 tablespoons granulated sugar
- 2 tablespoons kosher salt
- 6 small cucumbers
- 8 sprigs fresh dill
- 4 cloves garlic (peeled and sliced thin)
- 2 tablespoons pickling spice
Instructions:
1.
Preparing the Brine:
The foundation of any great pickle is a well-balanced brine. In a medium saucepan, combine the 3 cups of water, 3/4 cup of white vinegar, 3 tablespoons of granulated sugar, and 2 tablespoons of kosher salt. Place the saucepan over medium heat. Stir the mixture frequently until the sugar and salt are completely dissolved. It’s important to ensure all the salt and sugar crystals have vanished; this will guarantee a uniform flavor throughout your pickles. Once dissolved, remove the saucepan from the heat and let the brine cool slightly. We don’t want it boiling hot when it comes into contact with the cucumbers, as this can affect their texture. A warm brine is perfect.
2.
Preparing the Cucumbers and Jars:
While the brine is cooling, prepare your cucumbers and jars. For the best results, I recommend using fresh, firm, small pickling cucumbers, often labeled as Kirby cucumbers. Wash them thoroughly under cool running water to remove any dirt. You can leave them whole, cut them into spears, or slice them into rounds, depending on your preference. For this recipe, I often go with spears as they fit nicely into jars and are easy to grab. If you’re cutting them, try to make the pieces relatively uniform in size so they pickle evenly. Now, gather your clean jars. I typically use two pint-sized mason jars or one quart-sized jar. Wash them thoroughly with hot, soapy water and rinse well. Make sure they are completely dry.
3.
Assembling the Jars:
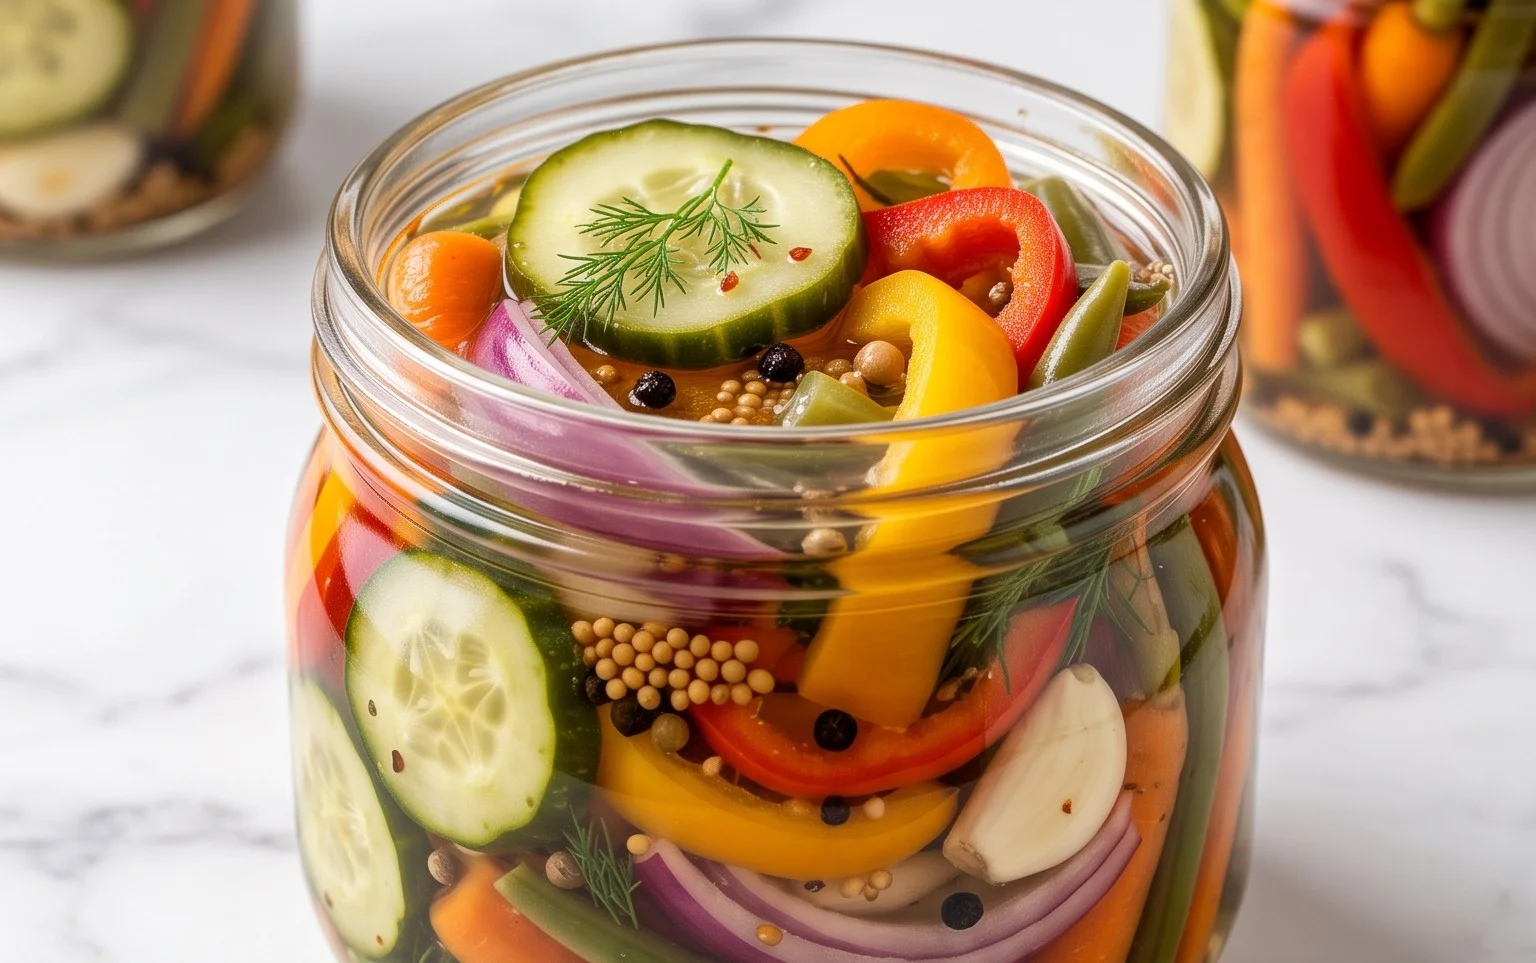
This is where the magic starts to happen! Divide the prepared cucumbers evenly between your clean jars. Next, tuck in the aromatics. Distribute the 8 sprigs of fresh dill and the 4 cloves of thinly sliced garlic among the jars. The dill will impart its signature herbaceous flavor, and the garlic adds a wonderful pungent depth. Finally, sprinkle in the 2 tablespoons of pickling spice. This spice blend typically includes mustard seeds, coriander seeds, peppercorns, and sometimes bay leaves or cloves, all of which contribute to the classic pickle flavor profile. Pack the ingredients snugly into the jars, but don’t force them so tightly that the brine can’t circulate.
4.
Adding the Brine and Sealing:
Once your jars are packed with cucumbers, dill, garlic, and spices, it’s time to pour in the slightly cooled brine. Carefully pour the brine over the ingredients in each jar, making sure to submerge everything. Leave about 1/2 inch of headspace at the top of each jar. This little bit of empty space is important for proper sealing and expansion. Gently tap the jars on the counter a few times to release any trapped air bubbles. If you see any pockets of air, you can try to nudge the cucumbers around a bit or add a tiny bit more brine. Once you’re happy with the brine level and lack of air bubbles, screw on the lids and bands tightly.
5.
Refrigerating and Enjoying:
And now for the hardest part – the waiting! Place the sealed jars in the refrigerator. For the best flavor and texture, I recommend letting them chill for at least 24 hours before diving in. However, they truly shine after 48 to 72 hours, allowing the flavors to meld beautifully. You’ll notice the cucumbers will begin to transform, becoming tender yet still delightfully crisp, and taking on the vibrant flavors of the dill, garlic, and spices. These pickles will keep in the refrigerator for about 2-3 weeks. Enjoy them on burgers, in potato salad, or straight from the jar! You’ll be amazed at how simple it is to create such a delicious treat.
Conclusion:
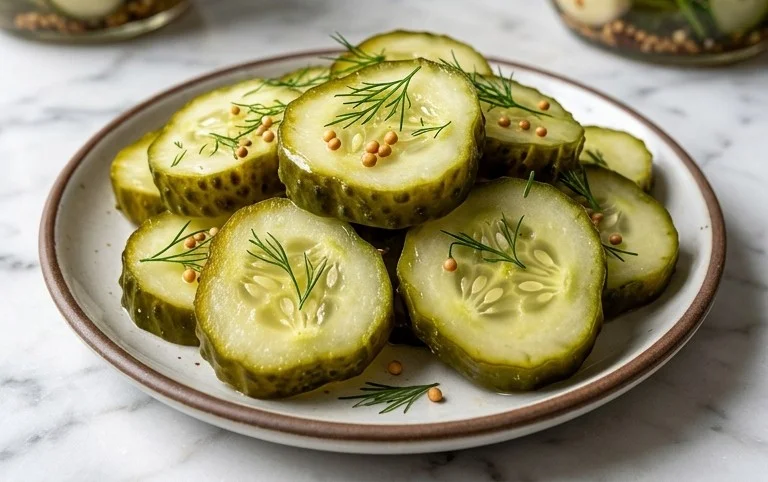
And there you have it! Crafting your own delicious refrigerator dill pickles is surprisingly simple and incredibly rewarding. This recipe is fantastic because it requires no special canning equipment and yields a batch of crisp, tangy pickles bursting with fresh dill flavor in a matter of days. They are the perfect accompaniment to a wide range of dishes, elevating everything from casual sandwiches and burgers to charcuterie boards and savory appetizers. Don’t hesitate to get creative with serving suggestions; I love them chopped into tuna salad or finely diced into a potato salad for an extra zing!
If you’re feeling adventurous, consider experimenting with variations. A pinch of mustard seeds or a few crushed coriander seeds added to the brine can offer a subtle complexity. For a touch of heat, a dried chili pepper or a few slices of jalapeño can be a delightful addition. I encourage you to dive in and try making these refrigerator dill pickles. The satisfaction of pulling out a jar of your homemade, perfectly crunchy pickles is truly unmatched. Happy pickling!
Frequently Asked Questions:
Why are my refrigerator dill pickles not crunchy?
Ensure you’re using fresh, firm cucumbers. Also, avoid overcrowding the jar, as this can lead to uneven brining and a softer texture. Some believe a quick ice bath for the cucumbers before brining can help maintain crispness.
How long do refrigerator dill pickles last?
When stored properly in the refrigerator, these pickles typically stay fresh and delicious for about 2-3 weeks. Always check for any signs of spoilage before consuming.
Can I use different types of cucumbers?
While Kirby cucumbers are ideal for pickling due to their firm texture and fewer seeds, you can experiment with other pickling varieties. Avoid slicing them too thin, as they can become mushy.
Refrigerator Dill Pickles
Quick and easy refrigerator dill pickles that are crisp and flavorful, perfect for snacking or as a side dish.
Ingredients
-
3 cups water
-
3/4 cup white vinegar
-
3 tablespoons granulated sugar
-
2 tablespoons kosher salt
-
6 small cucumbers
-
8 sprigs fresh dill
-
4 cloves garlic, peeled and sliced thin
-
2 tablespoons pickling spice
Instructions
-
Step 1
In a medium saucepan, combine water, white vinegar, granulated sugar, and kosher salt. Bring to a simmer over medium heat, stirring until sugar and salt are dissolved. Remove from heat and let cool slightly. -
Step 2
Wash cucumbers thoroughly. Slice cucumbers into desired shapes (rounds, spears, or halves). -
Step 3
In sterilized jars, layer the sliced cucumbers, fresh dill sprigs, sliced garlic, and pickling spice. -
Step 4
Carefully pour the slightly cooled brine over the cucumbers, ensuring they are completely submerged. Leave about 1/2 inch of headspace at the top of the jar. -
Step 5
Seal the jars tightly with lids. Let the pickles cool to room temperature on the counter. -
Step 6
Refrigerate for at least 24 hours before serving. Pickles will continue to improve in flavor over several days.
Important Information
Nutrition Facts (Per Serving)
It is important to consider this information as approximate and not to use it as definitive health advice.
Allergy Information
Please check ingredients for potential allergens and consult a health professional if in doubt.