Zesty Pickle Dip Pinwheels – Addictive Party Appetizer
Pickle Dip Pinwheels are about to become your new favorite appetizer, and I’m so excited to share this recipe with you! Imagine this: creamy, tangy, and bursting with that unmistakable pickle flavor, all rolled up into perfectly portioned bites. These aren’t just any party snacks; they’re little flavor bombs that disappear faster than you can say “more, please!” What’s not to love about a dish that combines the addictive crunch of pickles with a rich, savory dip, all encased in a soft tortilla? We love them because they’re incredibly easy to make, require no baking, and are always a crowd-pleaser. But what truly makes these Pickle Dip Pinwheels special is the ingenious way the pickle flavor is infused into every creamy layer, offering a delightful zing that dances on your taste buds with each bite. Get ready to wow your guests (or just treat yourself!) with these irresistible treats.
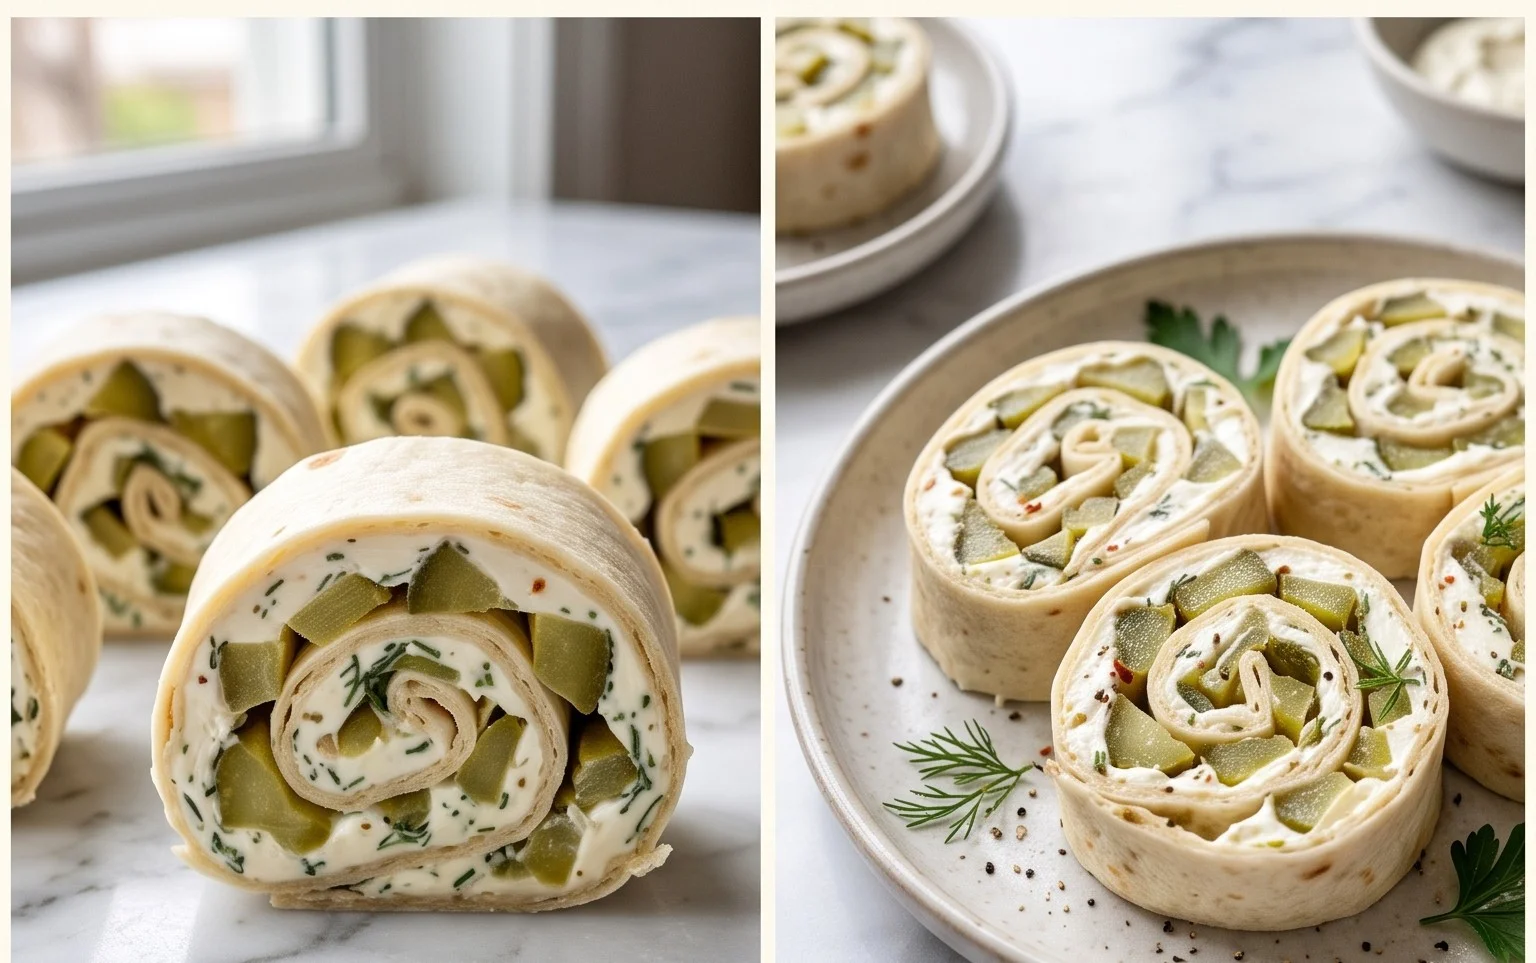
Pickle Dip Pinwheels
Looking for an appetizer that’s a guaranteed crowd-pleaser? Something zesty, creamy, and utterly addictive? Then you’ve come to the right place! These Pickle Dip Pinwheels are a revelation. They take the beloved flavors of a creamy pickle dip and transform them into a fun, bite-sized treat perfect for parties, game nights, or just a special snack. Forget boring cheese and crackers; these pinwheels are a vibrant explosion of tangy dill pickle and savory beef ham, all wrapped up in a soft tortilla. They’re incredibly easy to make, meaning you can whip up a batch without breaking a sweat, leaving you more time to actually enjoy your guests (or just savor your delicious creation!). Trust me, once you try these, they’ll become a staple in your appetizer repertoire.
Ingredients:
- 16 oz cream cheese (softened)
- 1 1/2 cup diced deli beef beef ham
- 1 1/2 cup diced dill pickle spears
- 6-7 taco sized tortillas
Instructions:
-
Prepare the Creamy Pickle Base
The foundation of our delicious pinwheels is a rich and creamy mixture that brings all the amazing flavors together. First, ensure your 16 ounces of cream cheese are truly softened. This is crucial for achieving a smooth, lump-free dip. Leave it on the counter for at least an hour, or even two, depending on your room temperature. You want it to be spreadable, almost like butter. If you’re in a hurry, you can gently warm it in the microwave in 15-second increments, stirring in between, but be very careful not to melt it completely. In a medium-sized mixing bowl, add the softened cream cheese. Grab a spatula or a sturdy spoon and begin to mash and stir the cream cheese until it’s perfectly smooth and pliable. This step ensures that all the other ingredients will incorporate beautifully without any stubborn lumps.
-
Incorporate the Flavor Powerhouses
Now comes the fun part: adding the stars of our pickle dip! To the softened cream cheese, add your 1 1/2 cups of finely diced deli beef beef ham. I like to use a good quality, lean beef beef ham for the best flavor and texture, but feel free to use your favorite! Make sure the beef ham is diced into small, uniform pieces so that each bite of your pinwheel gets a good amount of savory goodness. Next, it’s time for the dill pickle spears! You’ll need 1 1/2 cups of these, also diced finely. The dill pickles are where the signature tang and crunch of this dip come from, so don’t skimp! Again, aim for small, consistent pieces. You can use bread-and-butter pickles if you prefer a sweeter tang, but dill pickles are definitely the classic choice for this recipe. Once both the beef ham and pickles are in the bowl, gently fold them into the cream cheese. Use your spatula and work from the bottom of the bowl upwards, incorporating everything until it’s evenly distributed. You want to ensure that every scoop of this mixture will have that perfect balance of creamy, savory, and tangy.
-
Assemble the Pinwheels
With your delicious pickle dip mixture ready, it’s time to turn it into pinwheels. Lay out one of your taco-sized tortillas on a clean, flat surface. We’re aiming for a nice, even layer of the dip. Take a generous spoonful of the cream cheese and beef ham and pickle mixture and spread it evenly over the entire surface of the tortilla, leaving about a 1/2-inch border around the edges. This border is important because it helps prevent the filling from oozing out when you roll up the tortilla. You want a layer that’s substantial enough to be flavorful, but not so thick that it becomes impossible to roll. Repeat this process with your remaining tortillas, working one at a time. Make sure to spread the filling as close to the edges as possible, while still respecting that border. This ensures that you get maximum flavor in every single pinwheel.
-
Rolling and Chilling for Perfect Pinwheels
This is where the magic happens! Once a tortilla is evenly coated with the pickle dip mixture, it’s time to roll it up. Starting from one edge, tightly roll the tortilla into a log. Aim for a compact roll so that the pinwheels hold their shape nicely once sliced. Gently tuck in the sides as you roll, if needed, to create a neat cylinder. Once rolled, place the tortilla seam-side down on a plate or tray. It’s highly recommended to wrap the rolled tortillas tightly in plastic wrap. This keeps them from drying out and also helps to firm them up, making them much easier to slice neatly. Now, and this is a crucial step for the best results, refrigerate the wrapped tortillas for at least 30 minutes, or even up to an hour. This chilling period allows the cream cheese mixture to firm up considerably, which will prevent the pinwheels from falling apart when you slice them. Think of it as letting the flavors meld and the structure set!
-
Slicing and Serving Your Delicious Creations
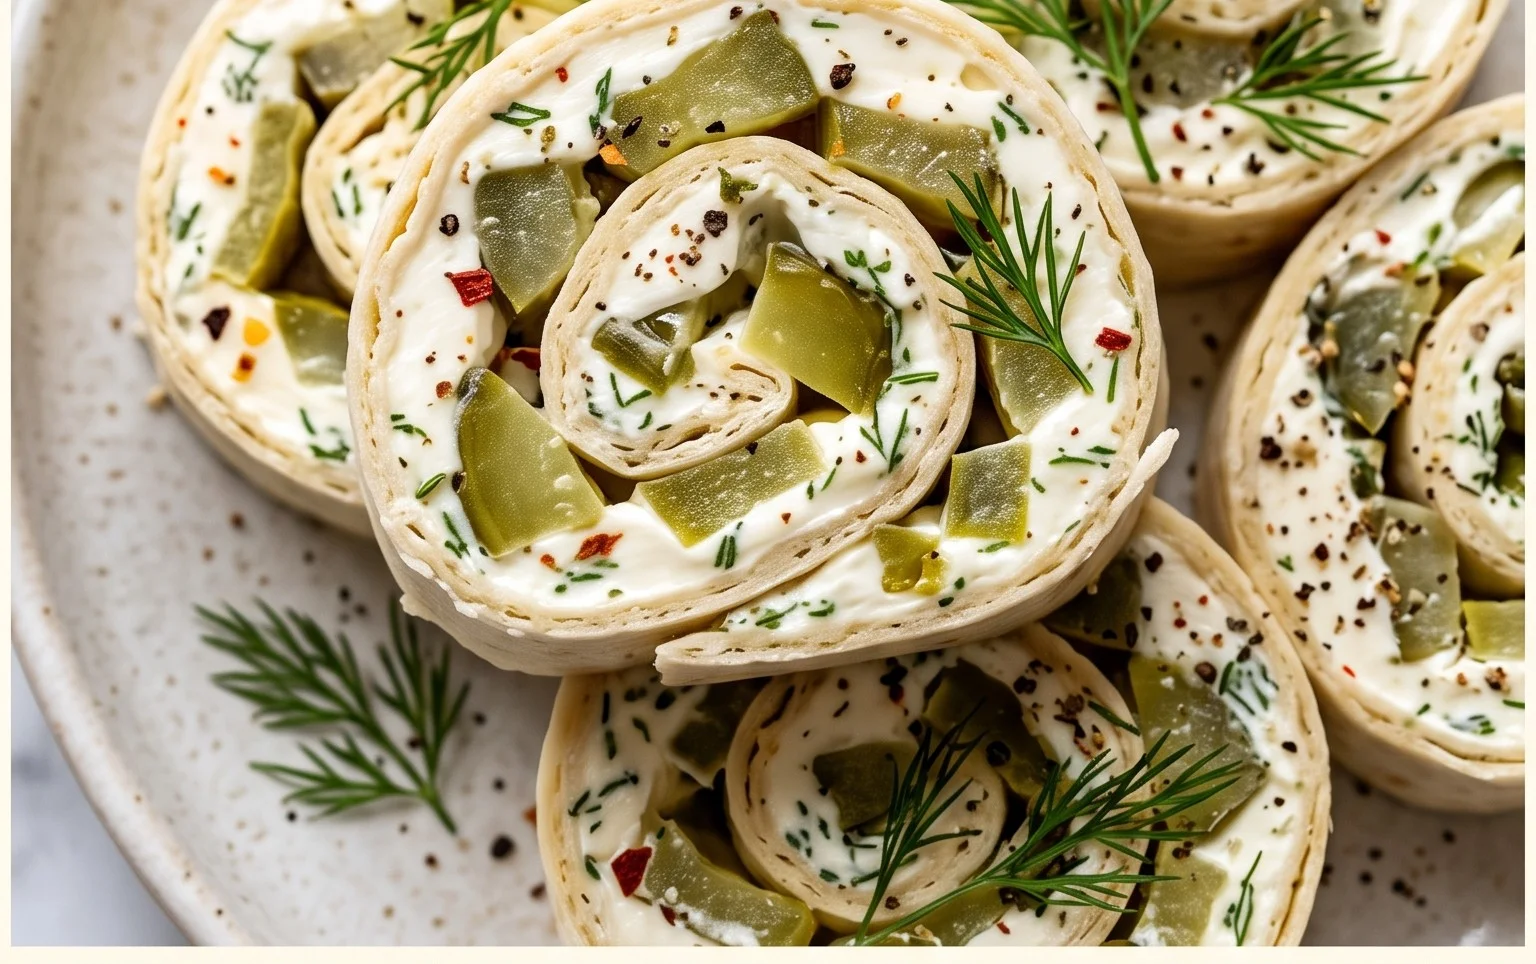
After your tortillas have had a good chilling, it’s time to reveal your beautiful pinwheels! Unwrap one of the chilled tortilla logs. Use a sharp knife to carefully slice the log into 1-inch thick pinwheels. A serrated knife can sometimes work best for a cleaner cut, especially if your filling is a bit firm. Take your time with this step; the cleaner your slices, the more attractive your pinwheels will be. If any of them try to unfurl slightly, don’t worry, just gently press them back into shape. Arrange your finished pickle dip pinwheels on a serving platter. You can stand them up on their sides to showcase the beautiful swirl of colors and textures. For an extra touch, consider garnishing the platter with a few extra pickle slices or a sprinkle of fresh dill. Serve immediately and watch them disappear! These are best enjoyed fresh, but can also be made a few hours ahead and kept chilled until ready to serve.
Conclusion:
And there you have it – your foolproof guide to creating these incredibly delicious Pickle Dip Pinwheels! These little flavor bombs are an absolute winner for so many reasons. The irresistible combination of creamy, tangy pickle goodness wrapped in soft tortillas makes them a crowd-pleaser that’s surprisingly easy to assemble. Whether you’re hosting a game day bash, a casual potluck, or just craving a unique appetizer, these pinwheels are guaranteed to disappear in a flash. Their vibrant flavor and fun, bite-sized presentation make them a standout choice for any gathering. I truly encourage you to give this recipe a try; I’m confident you’ll love them as much as I do!
For serving, these Pickle Dip Pinwheels are fantastic on their own, but they also pair wonderfully with a side of crunchy veggies like celery sticks or carrot rounds. Consider them for your next party appetizer spread alongside other dips and finger foods. Don’t be afraid to get creative with variations! You can add a sprinkle of paprika for a touch of color, incorporate some finely diced red onion for extra crunch and bite, or even mix in a tablespoon of your favorite hot sauce for a zesty kick. The possibilities are truly endless!
Frequently Asked Questions:
Can I make these Pickle Dip Pinwheels ahead of time?
Absolutely! You can prepare the filling and spread it on the tortillas up to 24 hours in advance. Roll them up tightly and refrigerate them in plastic wrap. For the neatest slices, it’s best to chill them for at least an hour before cutting. This allows the flavors to meld and the tortillas to firm up, making them easier to slice without crumbling.
What kind of pickles work best for this recipe?
Dill pickles are your best bet for that classic tangy flavor. I prefer using finely chopped dill pickle spears or whole dill pickles that you can dice yourself. You can also use bread and butter pickles if you prefer a sweeter note, but keep in mind it will alter the overall flavor profile of the pickle dip.
How long do these pinwheels stay fresh once made?
Once cut, these Pickle Dip Pinwheels are best enjoyed within 2-3 days. Store any leftovers tightly wrapped in plastic wrap and refrigerated in an airtight container. While they are delicious the next day, they can sometimes become a little softer as the moisture from the filling seeps into the tortillas.
Pickle Dip Pinwheels
Savory pinwheels filled with creamy ham and pickle mixture, perfect for appetizers.
Ingredients
-
16 oz cream cheese, softened
-
1 1/2 cup diced deli turkey ham
-
1 1/2 cup diced dill pickle spears
-
7 taco sized tortillas
-
1/4 cup chopped fresh dill (optional)
-
1/4 teaspoon black pepper
Instructions
-
Step 1
In a medium bowl, combine the softened cream cheese, diced deli turkey ham, and diced dill pickle spears. -
Step 2
Stir in the chopped fresh dill and black pepper, if using, until well combined. -
Step 3
Lay out one tortilla and spread an even layer of the cream cheese mixture over it, leaving a small border. -
Step 4
Roll the tortilla up tightly, starting from one edge. -
Step 5
Repeat with the remaining tortillas and cream cheese mixture. -
Step 6
Wrap each rolled tortilla tightly in plastic wrap and refrigerate for at least 1 hour to firm up. -
Step 7
Unwrap the chilled rolls and slice them into 1/2-inch thick pinwheels.
Important Information
Nutrition Facts (Per Serving)
It is important to consider this information as approximate and not to use it as definitive health advice.
Allergy Information
Please check ingredients for potential allergens and consult a health professional if in doubt.