Easy Chewy Pumpkin Cookies Recipe
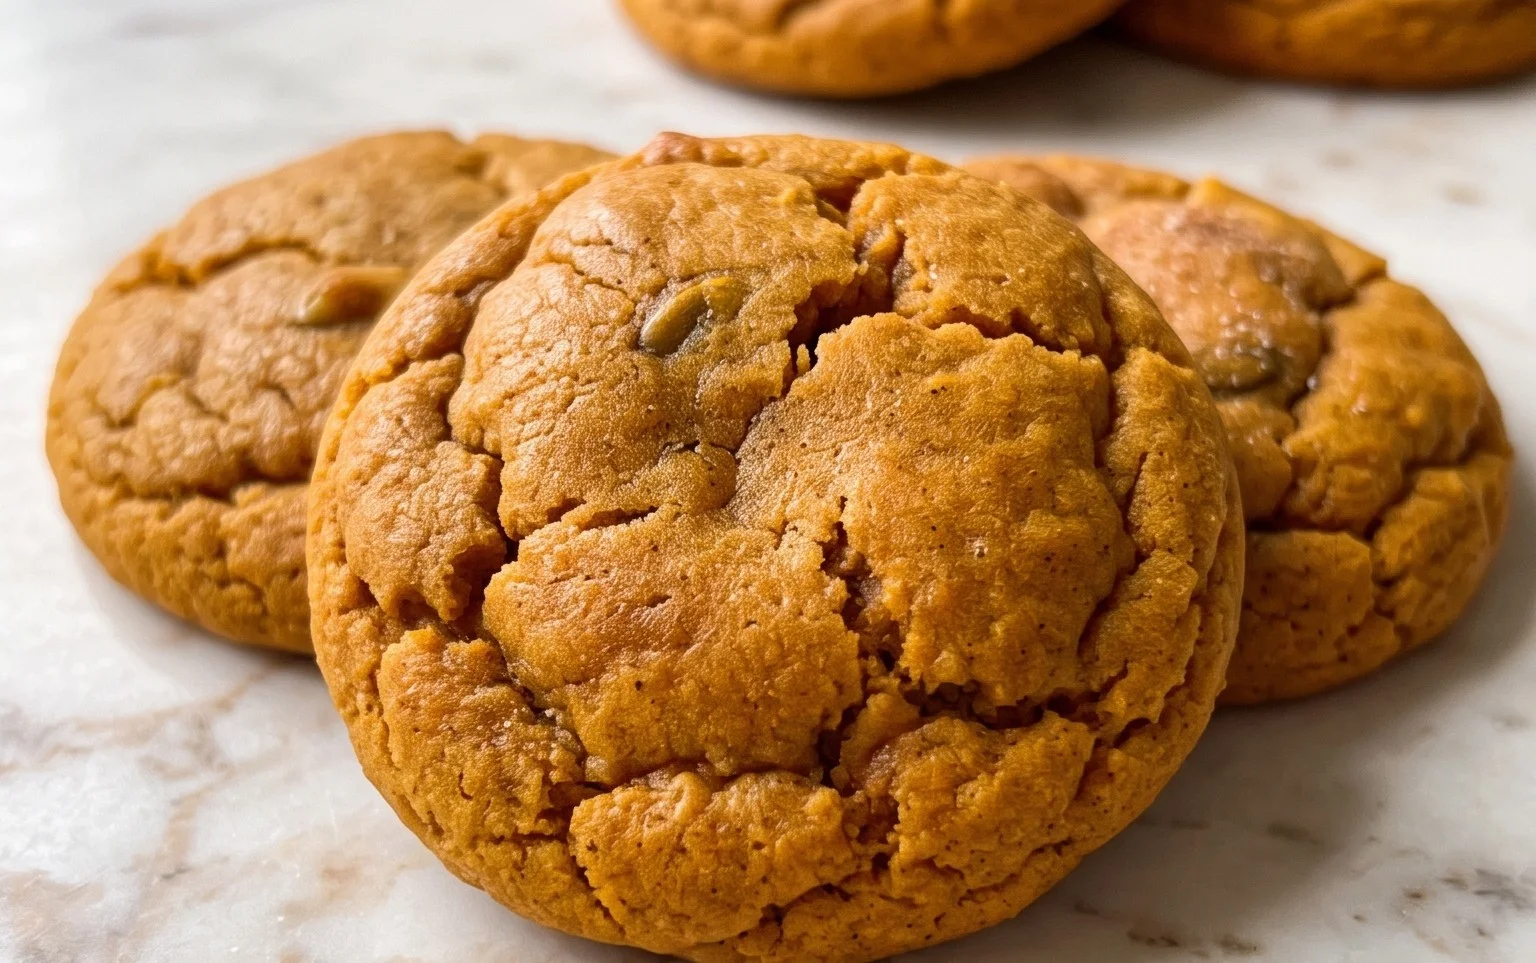
Chewy pumpkin cookies are my go-to treat when the air starts to get crisp and pumpkin spice everything appears. They’re wonderfully soft, have that perfect hint of spice, and the chewiness makes them utterly irresistible. I first started making these years ago when I wanted something cozy to pair with my afternoon tea, and they’ve been a hit ever since. The secret to their incredible texture lies in the balance of ingredients and a few key techniques. Unlike some cakey cookies, these have a dense, satisfying chew thanks to the right amount of brown sugar and a slightly longer bake time. They’re perfect for fall gatherings, Halloween parties, or just a quiet evening at home. You don’t need any fancy equipment, just a good mixing bowl and a sturdy spoon. Plus, the aroma that fills your kitchen as they bake is pure autumn magic.
Ingredients:
- 1/4 cup (50 g) granulated white sugar
- 1/2 tsp pumpkin pie spice
- 3/4 cup (168 g) unsalted butter, softened
- 1 cup (220 g) light brown sugar, packed
- 2 egg yolks, at room temperature
- 2 tsp vanilla
- 1/2 cup (122 g) canned pumpkin puree (Libby’s works best)
- 1 3/4 cups (219 g) all purpose flour, spooned and leveled
- 1 tbsp pumpkin pie spice
- 1/2 tsp baking soda
- 1/2 tsp baking powder
- 1/2 tsp salt
Making Chewy Pumpkin Cookies
These chewy pumpkin cookies are my go-to treat when the air starts to get crisp and pumpkin spice everything appears. They’re wonderfully soft, have that perfect hint of spice, and the chewiness makes them utterly irresistible. The key to getting them just right is in a few simple steps, ensuring a tender cookie with a rich flavor.
Creaming the Sugars and Butter
Start by placing the softened unsalted butter in a large mixing bowl. Softened butter means it’s pliable and will easily mix with the sugars, creating that essential fluffy base. If your butter is too cold, it won’t cream properly, leading to a denser cookie. If it’s too warm, it can melt too quickly, making the dough greasy. You’re looking for that perfect, easy-to-indent texture. Add the 1/4 cup of granulated white sugar and the 1 cup of packed light brown sugar to the bowl with the butter. Light brown sugar contributes moisture and a lovely caramel note, which is fantastic with pumpkin. Beat these together using an electric mixer on medium speed until the mixture is light and fluffy. This usually takes about 2-3 minutes. You’ll see the color lighten considerably, and the texture become airy. Don’t rush this step; it incorporates air into the dough, which helps with the cookie’s texture. Scrape down the sides of the bowl occasionally to make sure everything is evenly incorporated.
Adding the Wet Ingredients
Next, it’s time to add the flavorings and binders. Add the 2 egg yolks, one at a time, beating well after each addition. Egg yolks contribute richness and chewiness to cookies. Using just the yolks, rather than whole eggs, helps create a denser, chewier texture. Make sure each yolk is fully incorporated before adding the next. Follow this with the 2 teaspoons of vanilla extract. Vanilla complements the warm spices and pumpkin flavor beautifully. Finally, add the 1/2 cup of canned pumpkin puree. Libby’s is my preferred brand because it’s very consistent and has a good, pure pumpkin flavor without added spices. Make sure you are using pure pumpkin puree, not pumpkin pie filling, which already contains sugar and spices and would throw off your measurements. Beat everything together until just combined. The mixture might look a little separated or curdled at this point; don’t worry, this is normal.
Combining Dry Ingredients and Mixing the Dough
In a separate medium bowl, whisk together the 1 3/4 cups of all-purpose flour, 1 tablespoon of pumpkin pie spice, 1/2 teaspoon of baking soda, 1/2 teaspoon of baking powder, and 1/2 teaspoon of salt. Whisking ensures that the leavening agents (baking soda and baking powder) and salt are evenly distributed throughout the flour. This is important for consistent rising and flavor. Baking soda helps with browning and chewiness, while baking powder gives a little lift. Gradually add the dry ingredients to the wet ingredients in the large bowl, mixing on low speed until just combined. Do not overmix the dough at this stage. Overmixing can develop the gluten in the flour too much, resulting in tough cookies. You want to mix until you no longer see streaks of dry flour. The dough will be soft and a little sticky.
Chilling and Shaping the Dough
This is a critical step for achieving the best cookie texture and preventing them from spreading too much in the oven. Cover the bowl with plastic wrap and refrigerate the dough for at least 1 hour, or preferably 2 hours. Chilling the dough allows the fats to solidify, which helps the cookies hold their shape better. It also allows the flour to hydrate fully, leading to a chewier cookie. Once the dough is well-chilled, you can start shaping. Use a cookie scoop or two spoons to drop rounded balls of dough onto a baking sheet lined with parchment paper. I like to use a medium cookie scoop (about 1.5 tablespoons) for consistently sized cookies. Don’t flatten the dough balls; they will spread on their own. If you want a slightly flatter cookie, you can gently press down on the tops with the palm of your hand or the bottom of a glass. Leave about 2 inches of space between each cookie to allow for spreading.
Baking the Cookies
Preheat your oven to 350°F (175°C). Place one baking sheet at a time on the center rack of your preheated oven. Bake for 10-12 minutes, or until the edges are set and lightly golden brown, but the centers still look slightly soft and underbaked. They will continue to cook and set as they cool on the baking sheet. For extra chewy cookies, err on the side of underbaking. The exact baking time will depend on your oven and the size of your cookies. Keep a close eye on them, especially during the last few minutes. Once baked, let the cookies cool on the baking sheet for 5-10 minutes before transferring them to a wire rack to cool completely. This resting period on the baking sheet is important for the cookies to firm up.
These chewy pumpkin cookies are perfect on their own, but they’re also fantastic with a glass of cold milk or a warm cup of coffee. You can also enhance them further by pressing a few chocolate chips or chopped pecans into the tops of the dough balls before baking. For storage, keep cooled cookies in an airtight container at room temperature for up to 3-4 days. The flavor often improves after the first day. Enjoy these spiced delights!
Conclusion:
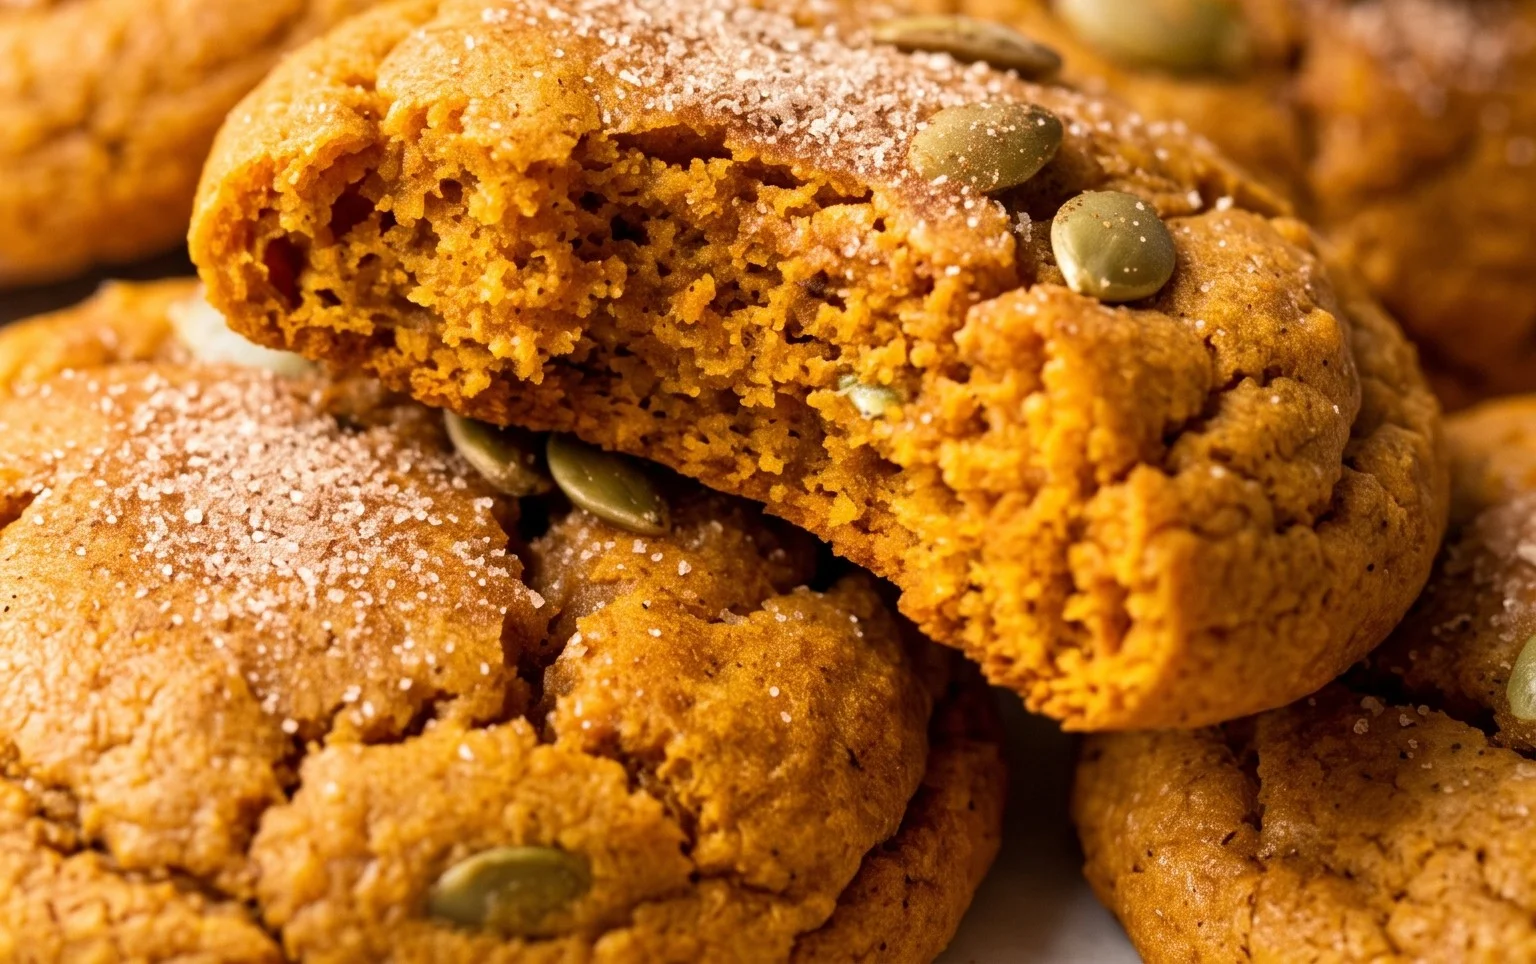
These chewy pumpkin cookies are a true taste of autumn, bringing together warm spices and that unmistakable pumpkin flavor in a wonderfully soft and chewy bite. They’re simple to make, even for beginners, and the results are incredibly rewarding. The combination of sugars and the specific baking time creates that perfect texture everyone loves. For serving, they’re fantastic on their own with a glass of cold milk or a warm cup of coffee. You could also pair them with a dollop of cream cheese frosting for an extra special treat, or even sandwich two together with a bit of buttercream. For a variation, try adding a handful of white chocolate chips or chopped pecans to the dough before baking. To store them, keep them in an airtight container at room temperature for up to 3 days; they stay wonderfully chewy. I really hope you give these chewy pumpkin cookies a try this season – they’re sure to become a favorite!
Frequently Asked Questions
Can I use fresh pumpkin puree instead of canned?
While you can use fresh pumpkin puree, it often has more water content than canned, which can make your cookies spread too much and become cakey. If you do use fresh, make sure to strain it very well to remove excess moisture. Libby’s is specifically recommended because it’s made from a drier variety of pumpkin.
How do I get my cookies extra chewy?
The key to chewiness in these cookies comes from using brown sugar (which has more moisture than white sugar), not over-mixing the dough once the flour is added, and slightly under-baking them. Pull them out when the edges are set but the centers still look a little soft. They will continue to firm up as they cool on the baking sheet.
Chewy Pumpkin Cookies
Deliciously chewy pumpkin cookies, perfect for autumn and beyond. These cookies are soft in the center with slightly crisp edges and packed with pumpkin flavor.
Ingredients
-
1/4 cup (50 g) granulated white sugar
-
1/2 tsp pumpkin pie spice
-
3/4 cup (168 g) unsalted butter, softened
-
1 cup (220 g) light brown sugar, packed
-
2 egg yolks, at room temperature
-
2 tsp vanilla
-
1/2 cup (122 g) canned pumpkin puree
-
1 3/4 cups (219 g) all purpose flour, spooned and leveled
-
1 tbsp pumpkin pie spice
-
1/2 tsp baking soda
-
1/2 tsp baking powder
-
1/2 tsp salt
Instructions
-
Step 1
In a small bowl, whisk together the granulated sugar and 1/2 tsp pumpkin pie spice. Set aside. -
Step 2
In a large bowl, cream together the softened unsalted butter and packed light brown sugar until light and fluffy. -
Step 3
Beat in the egg yolks one at a time, then stir in the vanilla and canned pumpkin puree until well combined. -
Step 4
In a separate medium bowl, whisk together the all purpose flour, 1 tbsp pumpkin pie spice, baking soda, baking powder, and salt. -
Step 5
Gradually add the dry ingredients to the wet ingredients, mixing until just combined. Do not overmix. -
Step 6
Drop rounded tablespoons of dough onto prepared baking sheets. Roll each dough ball into the reserved granulated sugar and spice mixture. -
Step 7
Bake in a preheated oven at 350°F (175°C) for 10-12 minutes, or until the edges are lightly golden and the centers are still soft. -
Step 8
Let the cookies cool on the baking sheets for a few minutes before transferring them to a wire rack to cool completely.
Important Information
Nutrition Facts (Per Serving)
It is important to consider this information as approximate and not to use it as definitive health advice.
Allergy Information
Please check ingredients for potential allergens and consult a health professional if in doubt.