Turkey Donuts – Easy Thanksgiving Treats Kids Love
Turkey Donuts are about to become your new favorite Thanksgiving tradition! Forget the stress of elaborate baking; these delightful treats are here to inject pure, unadulterated fun into your holiday spread, especially for the little ones. There’s something undeniably joyful about a bite-sized, edible turkey, isn’t there? We all love a festive dessert, but these Turkey Donuts elevate simple sweetness into an imaginative culinary adventure. What makes them truly special is their incredible versatility and the sheer delight they bring to kids’ faces. They’re not just delicious; they’re a canvas for creativity, allowing every child to craft their own unique Thanksgiving masterpiece. Get ready to make memories (and enjoy some yummy treats!) as we dive into creating these adorable Turkey Donuts together.
Turkey Donuts – Thanksgiving Treats for Kids
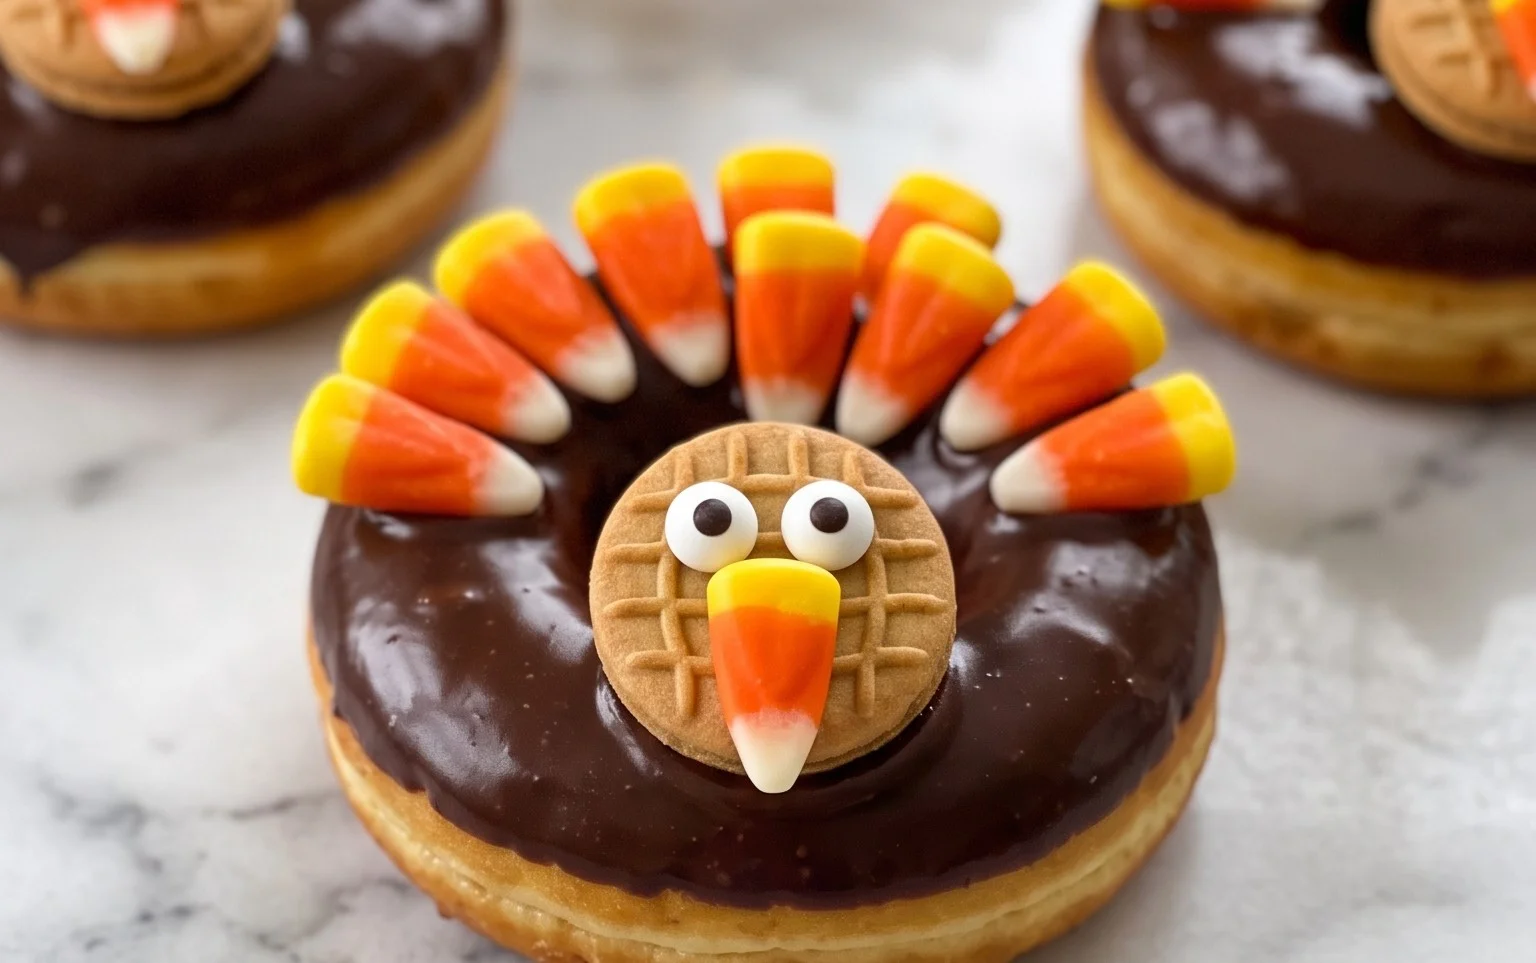
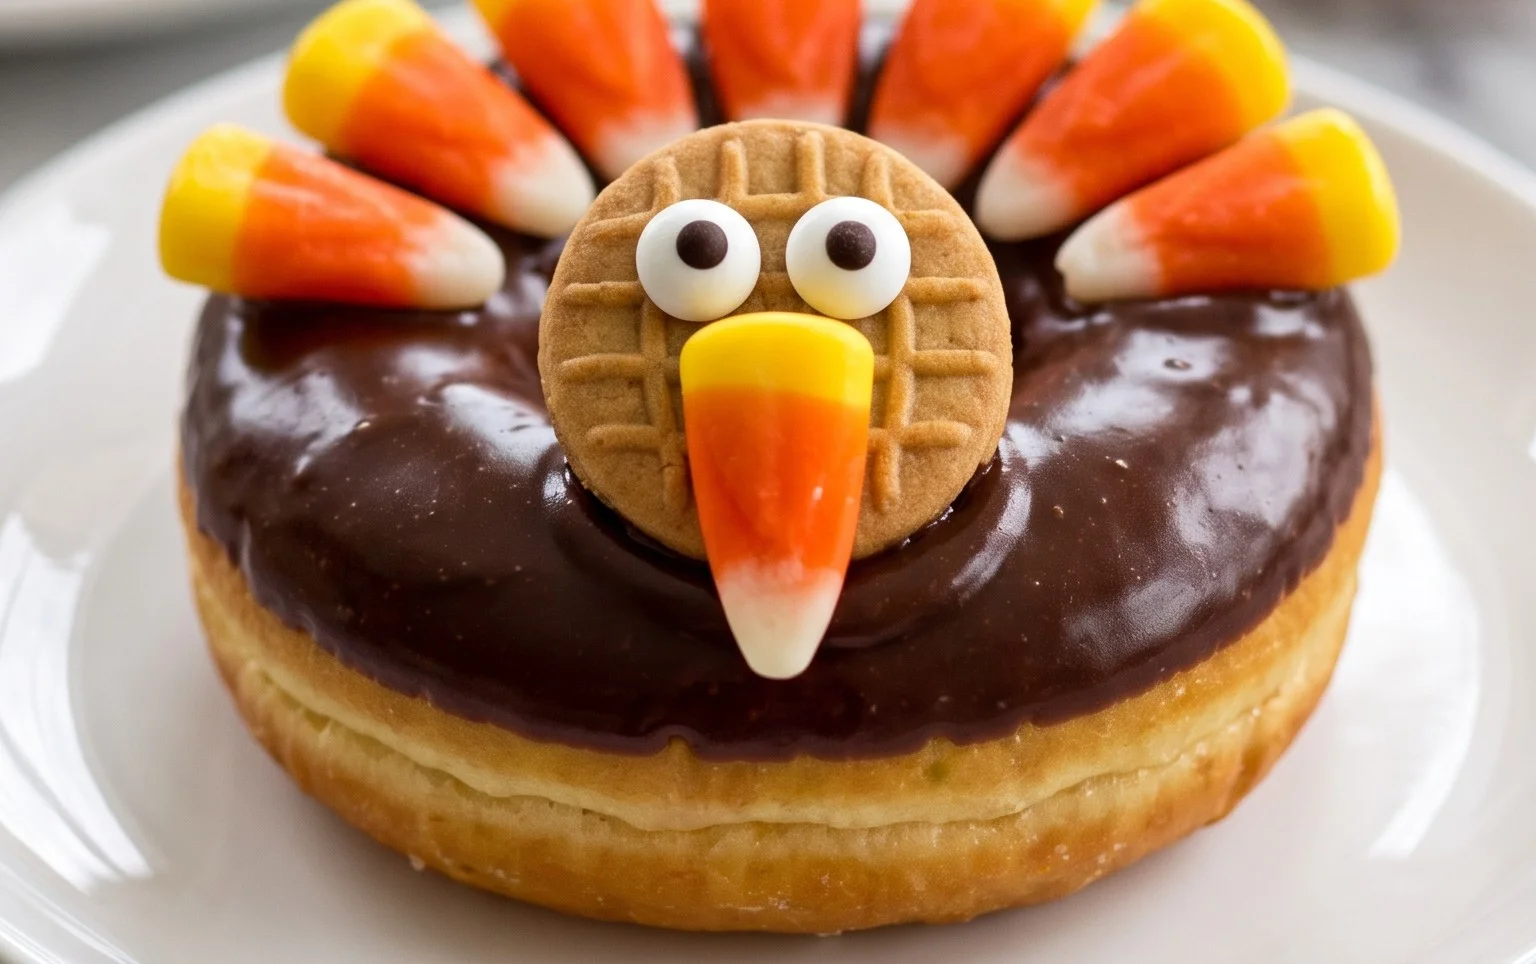
Get ready for some serious Thanksgiving fun with these adorable and surprisingly easy Turkey Donuts! They’re the perfect festive treat to whip up with your little ones, turning a simple store-bought donut into a charming Thanksgiving character. Forget the complicated baking; this is all about decorating and letting imaginations run wild. These little guys are guaranteed to be a hit at any Thanksgiving gathering, from a kid’s table centerpiece to a fun classroom activity. Let’s get our craft on and our sweet tooth satisfied!
Ingredients:
Instructions:
The beauty of these Turkey Donuts lies in their simplicity. We’re using pre-made mini glazed donuts as our canvas, making this a no-bake, low-mess activity perfect for even the youngest chefs. The decorating is where all the magic happens, transforming these ordinary donuts into delightful little turkeys.
Phase 1: Preparing Your Turkey Features
Before we start assembling our turkeys, it’s helpful to gather all your decorating components. Open up your box of Fruit Loops and have them ready to go. You’ll want to sort through them a little to pick out the colors that will make for the most vibrant turkey feathers. Think reds, oranges, yellows, and greens for a classic turkey look. Similarly, open your bag or container of candy eyes. It’s a good idea to have a few extra candy eyes on hand, just in case one rolls away or you decide to make a particularly expressive turkey!
Have your mini glazed donuts laid out on a clean surface. A baking sheet lined with parchment paper or wax paper works wonderfully, as it makes for easy cleanup and prevents the donuts from sticking. Ensure the donuts are at room temperature, as this will make the glaze slightly softer and easier to work with when attaching your decorations.
Phase 2: Assembling Your Turkey Masterpieces
Now for the fun part – bringing our turkeys to life! Grab a mini glazed donut. This will be the body of your turkey. We need to attach the candy eyes to the donut first. The glaze on the donut is usually sticky enough to hold the candy eyes in place without any extra adhesive. Gently press two candy eyes onto the top half of the donut, spacing them apart to create a friendly face. You can experiment with the placement – maybe one eye slightly higher than the other for a quirky look, or both perfectly aligned for a classic turkey expression. If your donut glaze seems a bit dry, a tiny dab of corn syrup or even a small amount of water on the back of the candy eye can help it stick, but usually, the natural glaze is sufficient.
Next, we need to give our turkey some festive feathers. This is where the Fruit Loops come in! You’ll be using them to create a fan of colorful tail feathers. Start by selecting a few pieces of Fruit Loops cereal. You’ll want to place them around the back half of the donut, fanning outwards. The sticky glaze on the donut should be enough to hold the cereal pieces. If you find they aren’t sticking well, you can try gently pressing them into the glaze. Alternatively, and for a more secure attachment, you can use a tiny amount of melted chocolate (either white or milk chocolate, melted carefully in the microwave or a double boiler) as a “glue.” Dip the end of each Fruit Loop into the melted chocolate and then press it onto the donut. Work in small batches if you’re using melted chocolate, as it can start to set quickly.
For the turkey’s wattle, we’re going to use a piece of red Fruit Loops cereal. Find a red ringed Fruit Loop and place it just below the candy eyes, slightly off-center, to mimic the wattle of a turkey. Again, the donut glaze should hold it in place. If it doesn’t, a tiny touch of melted chocolate or corn syrup can be used. You can also use a piece of red licorice lace if you have it, cut to size, for a more prominent wattle.
To create the beak, select a yellow or orange Fruit Loops cereal piece. You can break a ring in half or use a whole piece depending on the size of your donut and how prominent you want the beak to be. Press this gently just below the candy eyes and to the side of the wattle. This completes the basic turkey features! You can add more Fruit Loops to create a fuller fan of feathers if you desire, or use different colored Fruit Loops for a more abstract, modern turkey. Don’t be afraid to get creative!
Phase 3: Finishing Touches and Display
Once all your turkey features are attached, take a step back and admire your creations! You can make a whole flock of these adorable turkeys. They are best enjoyed fresh, but if you need to store them for a short period, place them in an airtight container at room temperature. Avoid refrigerating them, as this can make the donut glaze sticky and the Fruit Loops less crisp.
These Turkey Donuts are not only delicious but also make for a fantastic Thanksgiving craft. Set up a decorating station and let the kids go wild with their own turkey designs. It’s a wonderful way to keep them entertained while you’re busy with Thanksgiving preparations. They can also be used as a fun and edible centerpiece for the kids’ table, or even as little party favors for guests.
Remember, the goal is to have fun! There’s no right or wrong way to decorate these. Some kids might prefer fewer feathers, while others might go for a rainbow explosion. Encourage their creativity and enjoy the process. These Turkey Donuts are a sweet and simple way to add a touch of festive charm to your Thanksgiving celebration, bringing smiles to both kids and adults alike. Happy Thanksgiving and happy decorating!
Conclusion:
So there you have it – our delightful Turkey Donuts recipe, a guaranteed hit for your Thanksgiving celebrations! These adorable treats are a fantastic way to get kids involved in the kitchen and add a whimsical touch to your holiday table. Their simple construction makes them perfect for little hands to help decorate, fostering creativity and creating lasting memories. The beauty of these Turkey Donuts lies in their versatility; they’re not just visually appealing but also incredibly customizable. Feel free to get creative with your candy toppings to make each turkey unique!
Serve these as a fun dessert after your Thanksgiving feast, pack them as a special lunchbox surprise, or even use them as edible decorations for your party table. For variations, consider using different colored frosting for the “feathers” or adding candy corn for extra flair. You could also experiment with different sized donuts as the base. I truly encourage you to give these Turkey Donuts a try this Thanksgiving; the joy they bring is truly infectious.
Frequently Asked Questions:
Can I make these Turkey Donuts ahead of time?
Yes, absolutely! You can prepare the donuts and frosting a day in advance. Store the unfrosted donuts in an airtight container at room temperature. Keep the frosting refrigerated and bring it back to a spreadable consistency at room temperature before decorating.
What if I don’t have candy corn? What are other good options for turkey feathers?
No worries if candy corn isn’t your favorite! You can use other small candies like M&Ms, colorful sprinkles, mini chocolate chips, or even small pieces of fruit leather cut into feather shapes. The key is to have a variety of colors and textures to mimic turkey feathers.
Are these Turkey Donuts very messy to make with kids?
While any decorating project with children can have its moments, this recipe is relatively contained. Provide them with aprons and a designated “decorating zone” – perhaps a large tray or placemat – to minimize mess. It’s all part of the fun!
Turkey Donuts – Thanksgiving Treats for Kids
Adorable and easy Thanksgiving treats for kids, shaped like turkeys using mini glazed donuts.
Ingredients
-
12 Mini Glazed Donuts
-
1 cup Fruit Loops Cereal
-
24 Candy Eyes
-
2 tablespoons white frosting (for “glue”)
-
1 tablespoon orange candy melts (for beak and wattle, optional)
-
1 tablespoon brown candy melts (for feet, optional)
Instructions
-
Step 1
Lay out the mini glazed donuts on a clean surface. These will be the turkey bodies. -
Step 2
Using a small amount of white frosting as glue, attach two candy eyes to the top half of each donut. -
Step 3
For the beak, if using orange candy melts, melt them according to package directions. Dip a toothpick into the melted candy and draw a small triangle beak below the eyes. If not using candy melts, a small piece of fruit loop can also work. -
Step 4
For the wattle (optional), use the same technique as the beak with orange candy melts, creating a small dangly shape below the beak. -
Step 5
Press a few Fruit Loops Cereal pieces into the sides and back of the donut to create colorful turkey feathers. -
Step 6
For the feet (optional), melt brown candy melts and use a toothpick to create two small lines or “feet” at the bottom of the donut. -
Step 7
Allow the frosting and candy melts to set completely before serving.
Important Information
Nutrition Facts (Per Serving)
It is important to consider this information as approximate and not to use it as definitive health advice.
Allergy Information
Please check ingredients for potential allergens and consult a health professional if in doubt.